The purpose of this procedure is to explain how to use Ninja Forms.
### Access to the interface 1. Connect to the administration console of the site 2. Click on "**Ninja Form**" in the left menu [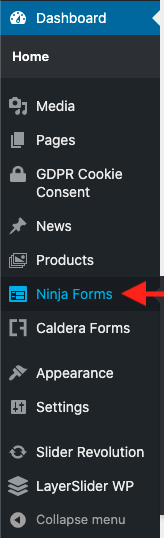](https://docs.trisinformatique.com/uploads/images/gallery/2021-11/image-1637232862179-48-32.png) 3. Choose the form you want to modify and click on the name, this opens the editor ### [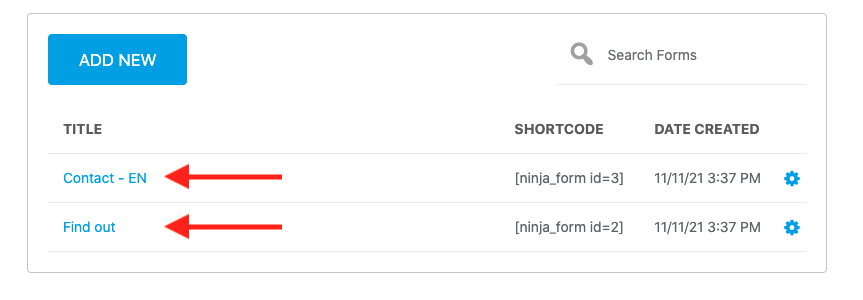](https://docs.trisinformatique.com/uploads/images/gallery/2021-11/image-1637232908929-48-48.png) ### Edit an existing field 1. Click on the field to be modified, the editing window opens on the right [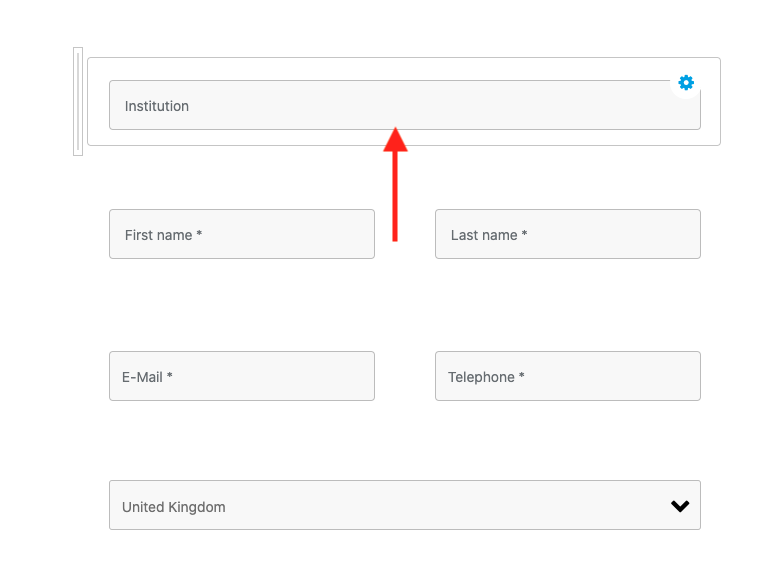](https://docs.trisinformatique.com/uploads/images/gallery/2021-11/image-1637233000700-49-06.png) 2. To change the display name, change the **placeholder** [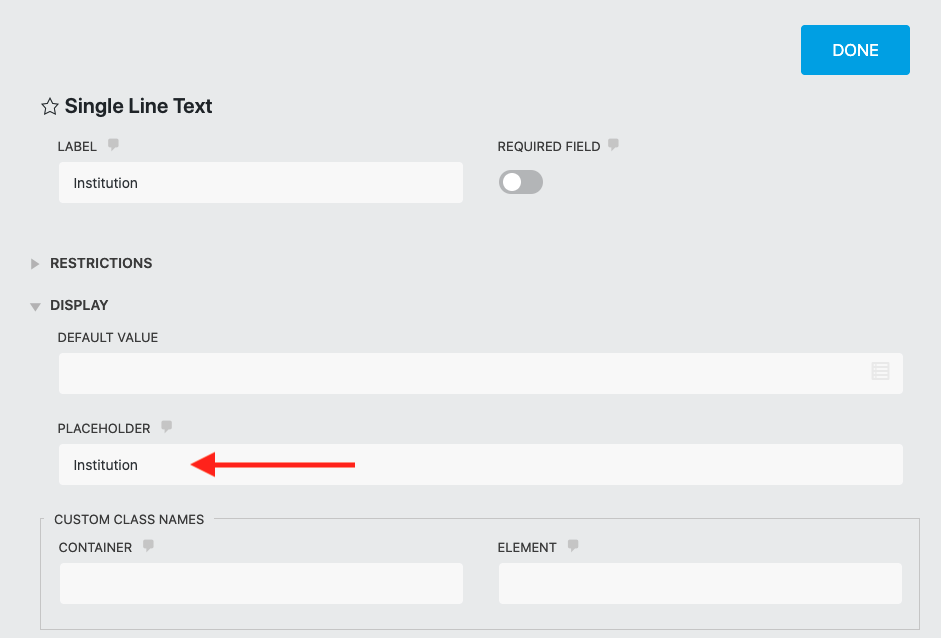](https://docs.trisinformatique.com/uploads/images/gallery/2021-11/image-1637233082717-49-51.png) 3. Once the modification is done, click on "**Done**". [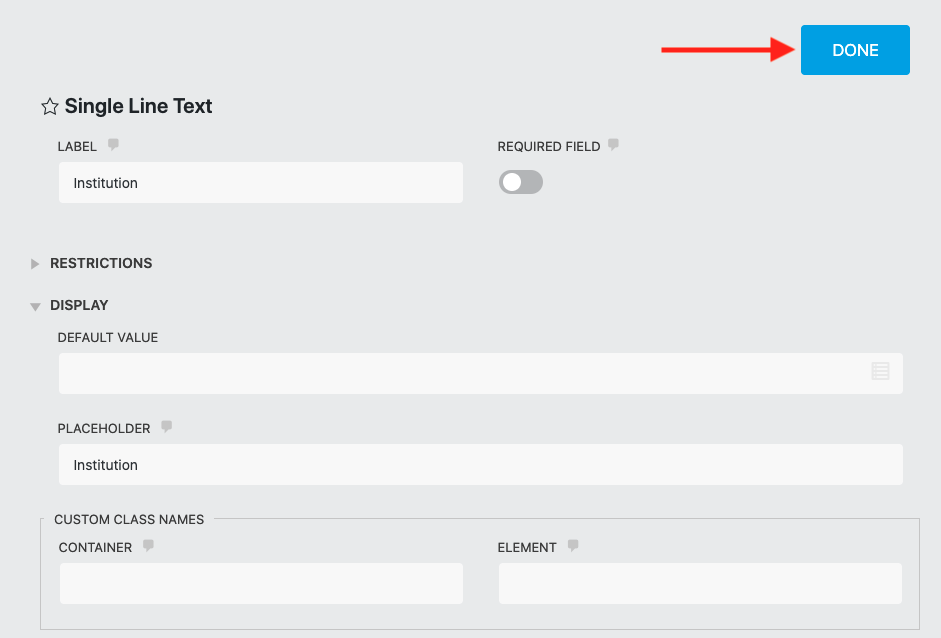](https://docs.trisinformatique.com/uploads/images/gallery/2021-11/image-1637233115708-49-51.png) ### Edit the reception email address 1. To change the email address of the form, click on "**Emails & Actions**". [](https://docs.trisinformatique.com/uploads/images/gallery/2021-11/image-1637233221715-50-19.png) 2. Then click on the cogwheel next to "**Email**". [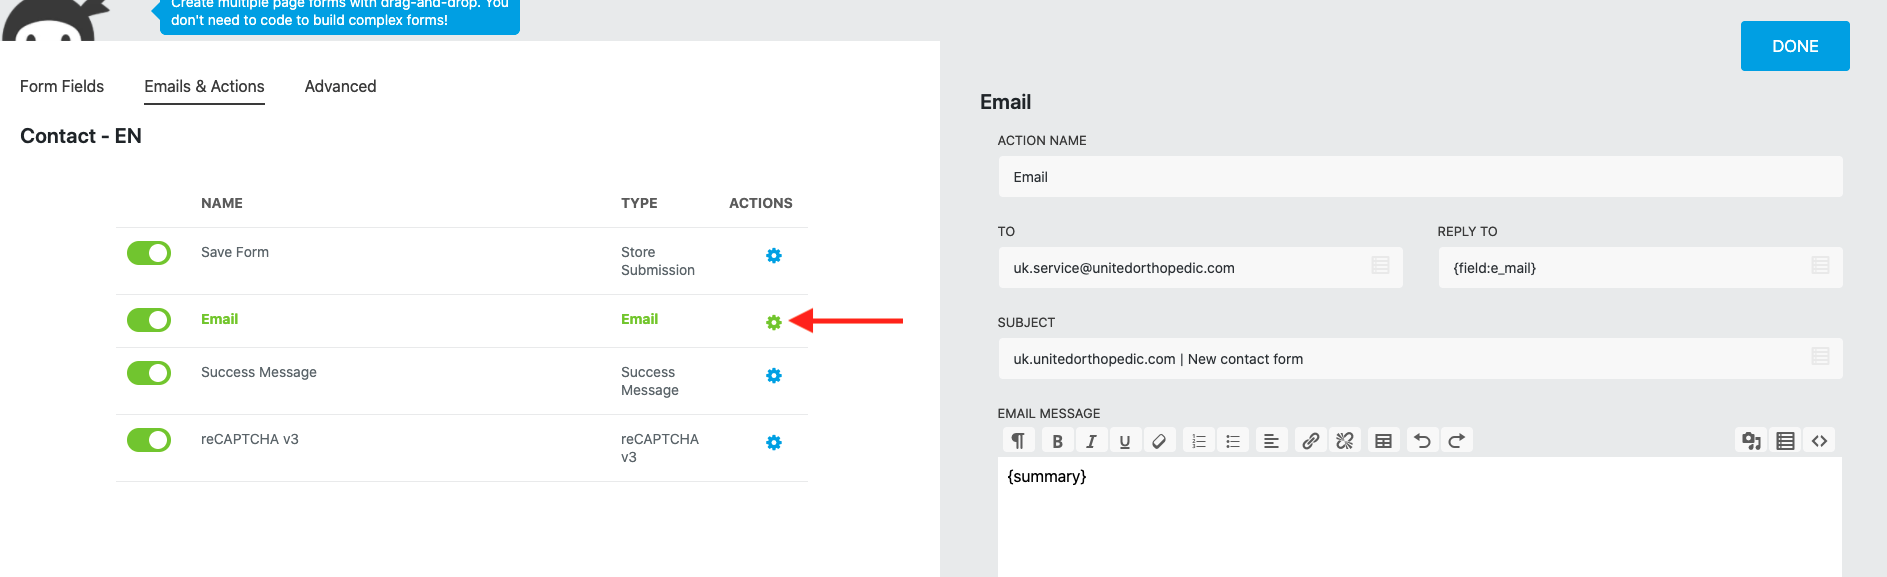](https://docs.trisinformatique.com/uploads/images/gallery/2021-11/image-1637233253401-50-19.png) 3. Then change the address in the "**To**" field [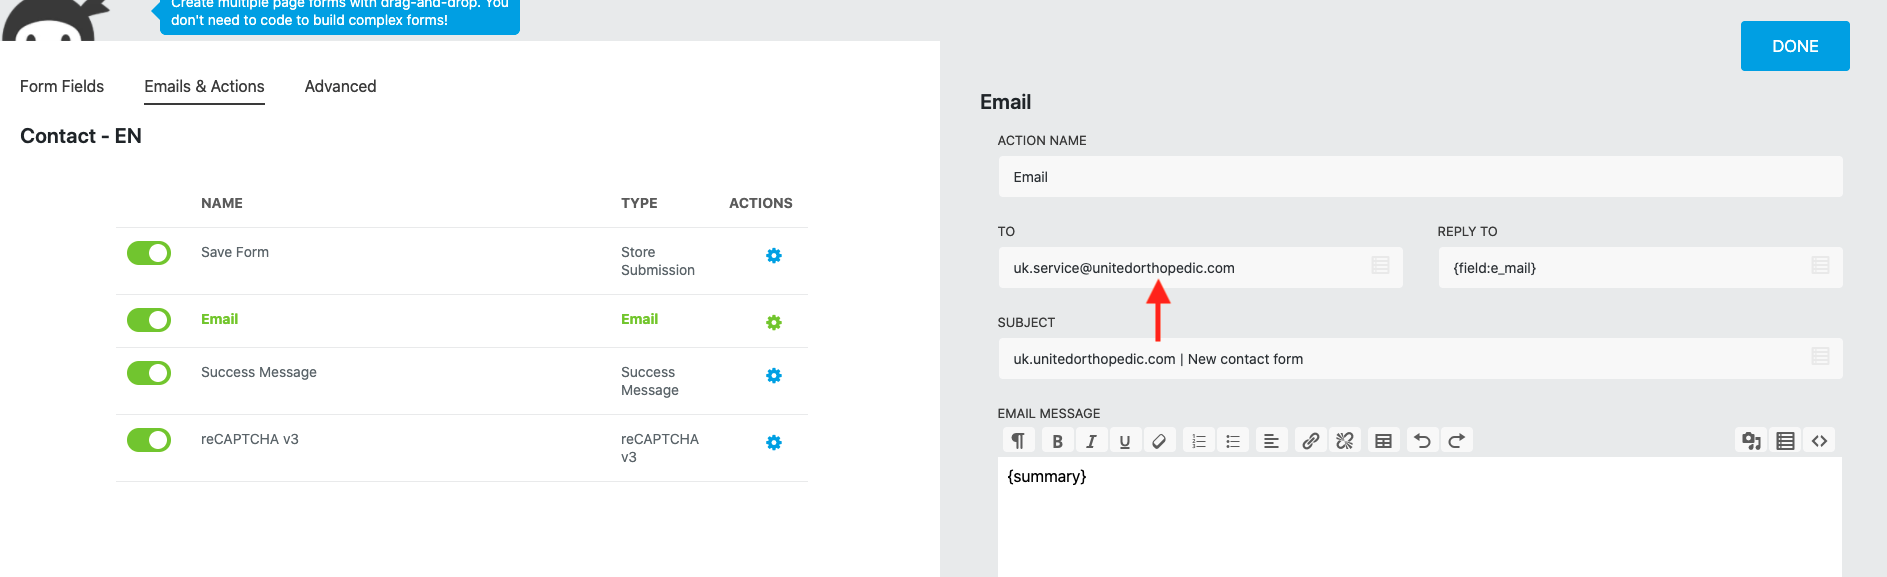](https://docs.trisinformatique.com/uploads/images/gallery/2021-11/image-1637233287383-50-19.png) 4. Once the modification is done, click on "**Done**". [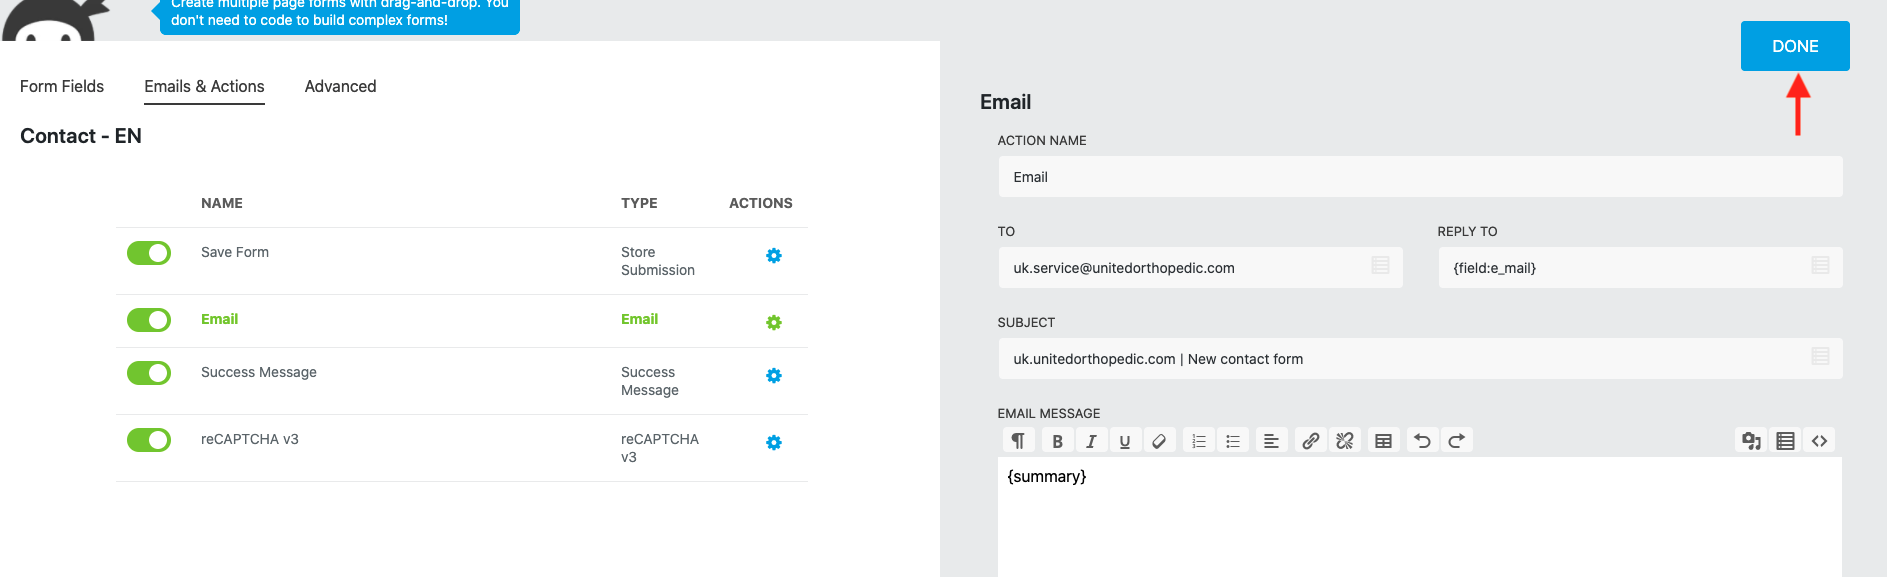](https://docs.trisinformatique.com/uploads/images/gallery/2021-11/image-1637233309843-50-19.png) ### Add a new field 1. In "**Form Fields**", click on the "**+**" at the bottom right [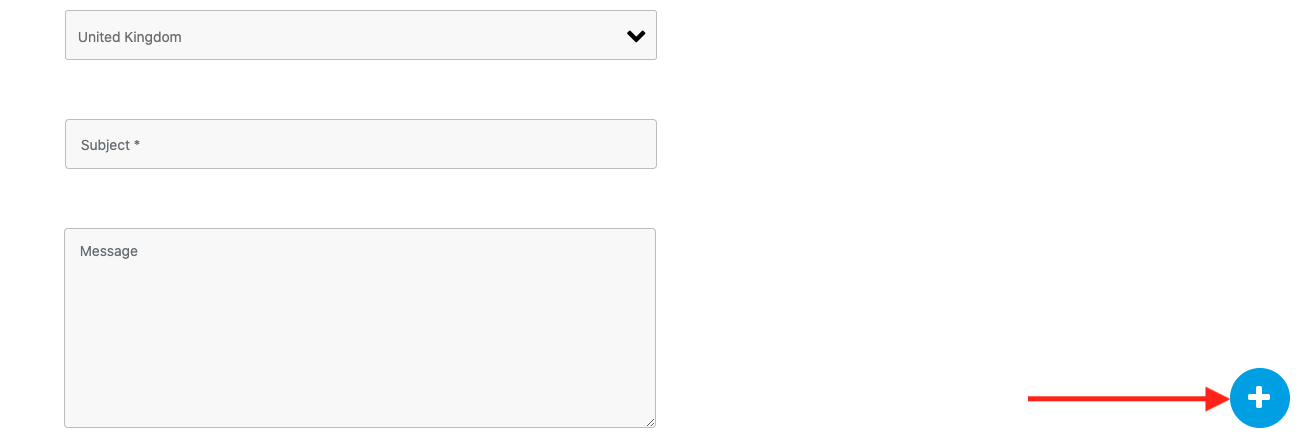](https://docs.trisinformatique.com/uploads/images/gallery/2021-11/image-1637233383455-51-09.png) 2. Choose the type of field to add [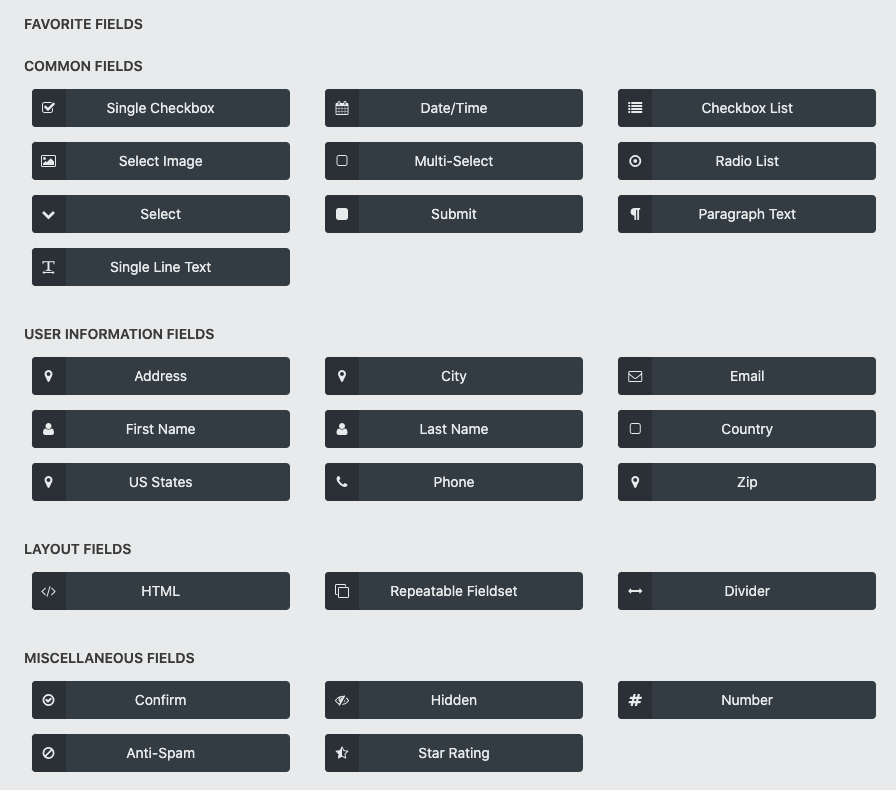](https://docs.trisinformatique.com/uploads/images/gallery/2021-11/image-1637233412477-51-19.png) 3. The field is added at the end of the form. To place it elsewhere, use the mouse to drag and drop it. 4. You can then modify the field. ### Saving changes 1. Once you have made all the changes, click on "**Publish**" at the top right [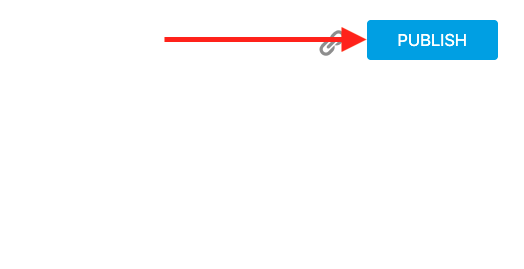](https://docs.trisinformatique.com/uploads/images/gallery/2021-11/image-1637233568235-50-39.png) 2. To exit the form editing interface, click on the "**X**" at the top right [](https://docs.trisinformatique.com/uploads/images/gallery/2021-11/image-1637233617084-50-56.png)Congratulations! The modified form is now visible on the site.
If something doesn't work as explained above or if you need any assistance, don't hesitate to contact the Tris Informatique team who will be happy to help: https://www.trisinformatique.com/contact/